If you’ve ever wondered how to get that perfectly vibrant, tender-crisp texture in your green beans, then you’re in the right place. This How to Blanch Green Beans Recipe will show you the secret technique that locks in color, flavor, and snap, making your green beans taste fresh and bright every single time. Whether it’s for a simple side or to prep for a big meal, blanching green beans is an absolute game-changer in the kitchen.
Ingredients You’ll Need
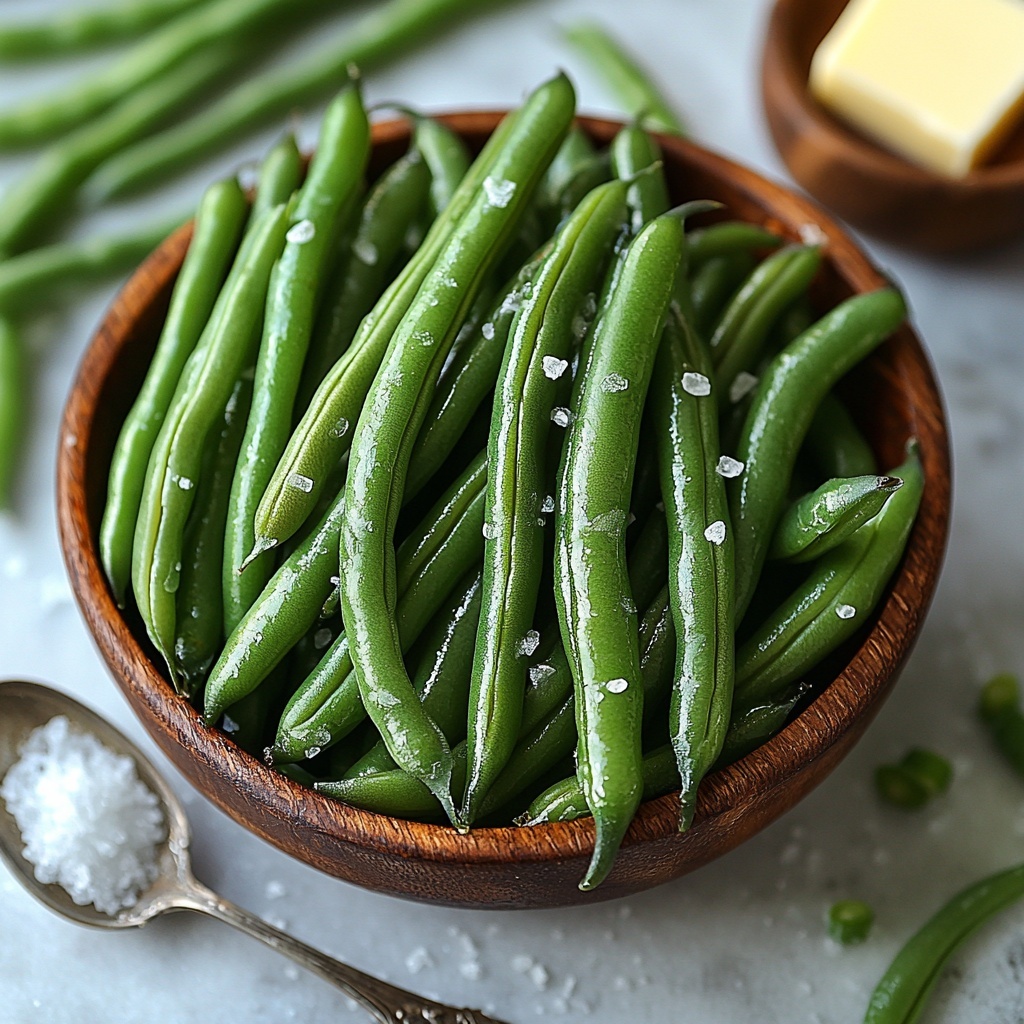
These few simple ingredients are all it takes for a flawless blanching experience. Each one plays a key role: fresh green beans bring natural sweetness and crunch, salt seasons and helps preserve the color during boiling, and butter is an optional touch that adds richness and gloss at the end.
- 1 lb. green beans (fresh): Freshness is key for that vibrant snap and deep green hue.
- 1 tsp. salt (plus more for serving): Salt seasons the beans and enhances their natural flavor during boiling and after.
- 1-2 Tbsp. butter (optional): Just a little butter elevates the texture and adds a luscious finish.
How to Make How to Blanch Green Beans Recipe
Step 1: Prepare the Beans
Start by snapping off the stems of your green beans by hand or trim them with a knife—whichever you prefer. This step ensures each bean is ready to soak up that perfect boil without any tough ends getting in the way. It’s quick, simple, and sets the stage for flawless blanching.
Step 2: Boil in Pot
Fill a large pot with water, add 1 teaspoon of salt, and bring it to a rolling boil. Once boiling, gently lower the green beans in using a slotted spoon. Boil them for 4 to 5 minutes until they’re crisp tender. It’s important to start checking after about 3 minutes so they don’t get overcooked and lose that bright green color and crunch.
Step 3: Blanch in Ice Water
As soon as the green beans hit the perfect doneness, remove them immediately with your slotted spoon and transfer into an ice water bath. This icy plunge stops the cooking process right away, locking in the beautiful color and crisp texture you worked so hard to achieve. Let them soak for at least 2 minutes.
Step 4: Drain and Serve
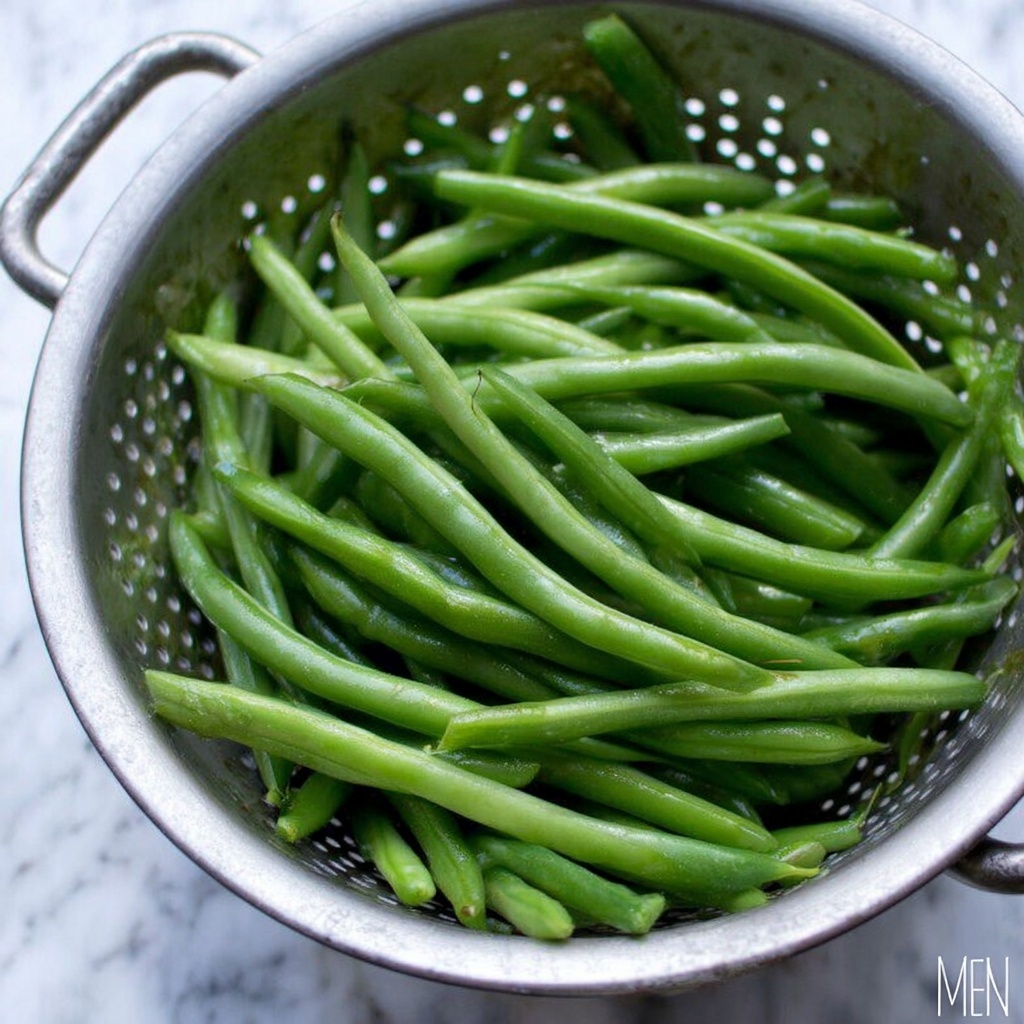
Drain your beans thoroughly in a colander, shake off any excess water, and they’re ready to use! Whether you add a sprinkle of salt, a pat of butter, or toss them into your favorite salad or dish, these green beans will be bursting with freshness and flavor. Simple, healthy, and incredibly delicious.
How to Serve How to Blanch Green Beans Recipe
Garnishes
After your green beans are perfectly blanched, a little garnish can go a long way. Toss them with a bit of butter or a drizzle of olive oil and sprinkle with flaky sea salt to highlight their natural flavor. A few zestful lemon slices, toasted almonds, or freshly ground black pepper add beautiful contrasts and textures.
Side Dishes
These vibrant green beans make a fantastic side dish for roasted chicken, grilled fish, or a holiday turkey. Because of the quick blanching, they retain just enough crunch to balance heavier mains. They also pair well with grains like quinoa or rice for a light and wholesome meal.
Creative Ways to Present
Try serving your blanched green beans cold as part of a refreshing salad with cherry tomatoes, feta cheese, and a tangy vinaigrette. Or layer them in a spring vegetable terrine for a stunning table centerpiece. The possibilities with this basic blanching technique are endless and a true crowd-pleaser.
Make Ahead and Storage
Storing Leftovers
If you have leftover blanched green beans, store them in an airtight container in the refrigerator. They’ll keep their texture and flavor beautifully for up to 3 days, making them a convenient ready-to-use ingredient for quick meals or snacks.
Freezing
To freeze, drain the beans completely after blanching and pat dry. Then freeze them spread out on a baking sheet before transferring to a freezer-safe bag or container. Frozen blanched green beans maintain their quality for around 10-12 months, perfect for enjoying the taste of fresh beans even out of season.
Reheating
Reheat your blanched green beans gently by steaming or sautéing quickly on medium heat with a splash of olive oil or butter. Avoid overheating to keep their crisp tenderness intact. They also taste great cold, straight from the fridge, especially in salads or as a snack.
FAQs
Why do I need to blanch green beans?
Blanching green beans brightens their color, softens them just enough without losing crunch, and stops enzyme activity that causes veggies to age. It also preps them perfectly for freezing or adding to recipes.
Can I skip the ice bath after boiling?
The ice bath is essential because it immediately halts cooking and locks in vibrant green color and crispness. Skipping it will likely result in overcooked, dull beans.
How long should I boil green beans for blanching?
Boil green beans for about 4-5 minutes or until crisp tender. Start checking at 3 minutes so they don’t get mushy or lose their beautiful color.
Is it necessary to add salt to the boiling water?
Yes, adding salt seasons the beans and helps them retain their bright green color. It also enhances their natural flavor during the blanching process.
Can I use frozen green beans for blanching?
Frozen green beans are typically pre-blanched during processing, so additional blanching isn’t necessary. If they’re fresh frozen without blanching, you can follow the same recipe but reduce cooking time since frozen beans cook faster.
Final Thoughts
There’s something so satisfying about biting into green beans that are tender yet crisp and boasting a fresh, vibrant green color. This How to Blanch Green Beans Recipe is a simple kitchen habit you’ll want to embrace for the way it transforms your veggies. Give it a try—it’s the perfect quick technique to ensure your meals always have that beautiful, bright pop of green that everybody loves.
Print
How to Blanch Green Beans Recipe
- Prep Time: 5 minutes
- Cook Time: 5 minutes
- Total Time: 10 minutes
- Yield: 4 servings
- Category: Side Dish
- Method: Boiling
- Cuisine: American
- Diet: Low Fat
Description
This simple recipe shows you how to blanch green beans to achieve perfectly crisp-tender vegetables. Blanching preserves their vibrant color, fresh flavor, and texture, making them perfect for salads, sides, or healthy snacks. The process involves boiling the green beans briefly, then immediately cooling them in ice water to stop the cooking.
Ingredients
Ingredients
- 1 lb. fresh green beans
- 1 tsp. salt (plus more for serving)
- 1–2 Tbsp. butter (optional)
Instructions
- Prepare the Beans: Snap off the stems of the green beans by hand or cut and remove the ends with a knife to clean and trim them for cooking.
- Boil in Pot: Bring a large pot of water to a rolling boil and add 1 tsp. of salt. Carefully add the green beans using a slotted spoon and cook for about 4-5 minutes until they are crisp tender. Start checking at 3 minutes to prevent overcooking.
- Blanch in Ice Water: Immediately remove the green beans from the boiling water with a slotted spoon and transfer them to a large bowl of ice water. Let them soak for at least 2 minutes to stop the cooking process and preserve their bright green color.
- Drain and Serve: Drain the cooled green beans in a colander. Optionally toss with butter and season with additional salt before serving. They can be eaten as a snack or used in salads and other recipes.
Notes
- Use fresh green beans for the best texture and flavor.
- Do not overcook to keep the beans crisp and vibrant green.
- The ice water bath is essential to stop cooking and maintain color.
- Butter is optional but adds richness when serving.
- Blanched green beans can be stored in the fridge for up to 3 days for meal prep.


