
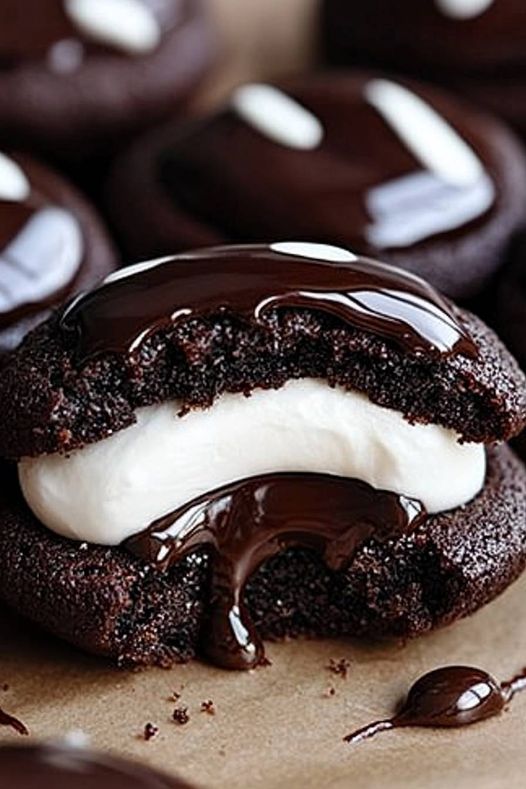
Hostess Cupcake Cookies are a nostalgic snack known for their chocolatey flavor, creamy filling, and iconic squiggle design. If you’re a fan of these classic treats, Hostess Cupcake Cookies are a fun and delicious twist on the original, transforming the flavor of Hostess cupcakes into soft, chewy cookies. These cookies are easy to make at home and capture the signature taste of the beloved snack cake, complete with a chocolate coating and vanilla swirl. Perfect for parties, after-school treats, or satisfying a nostalgic craving, these cookies are sure to impress friends, family, and fellow dessert lovers.
Why You’ll Love Hostess Cupcake Cookies
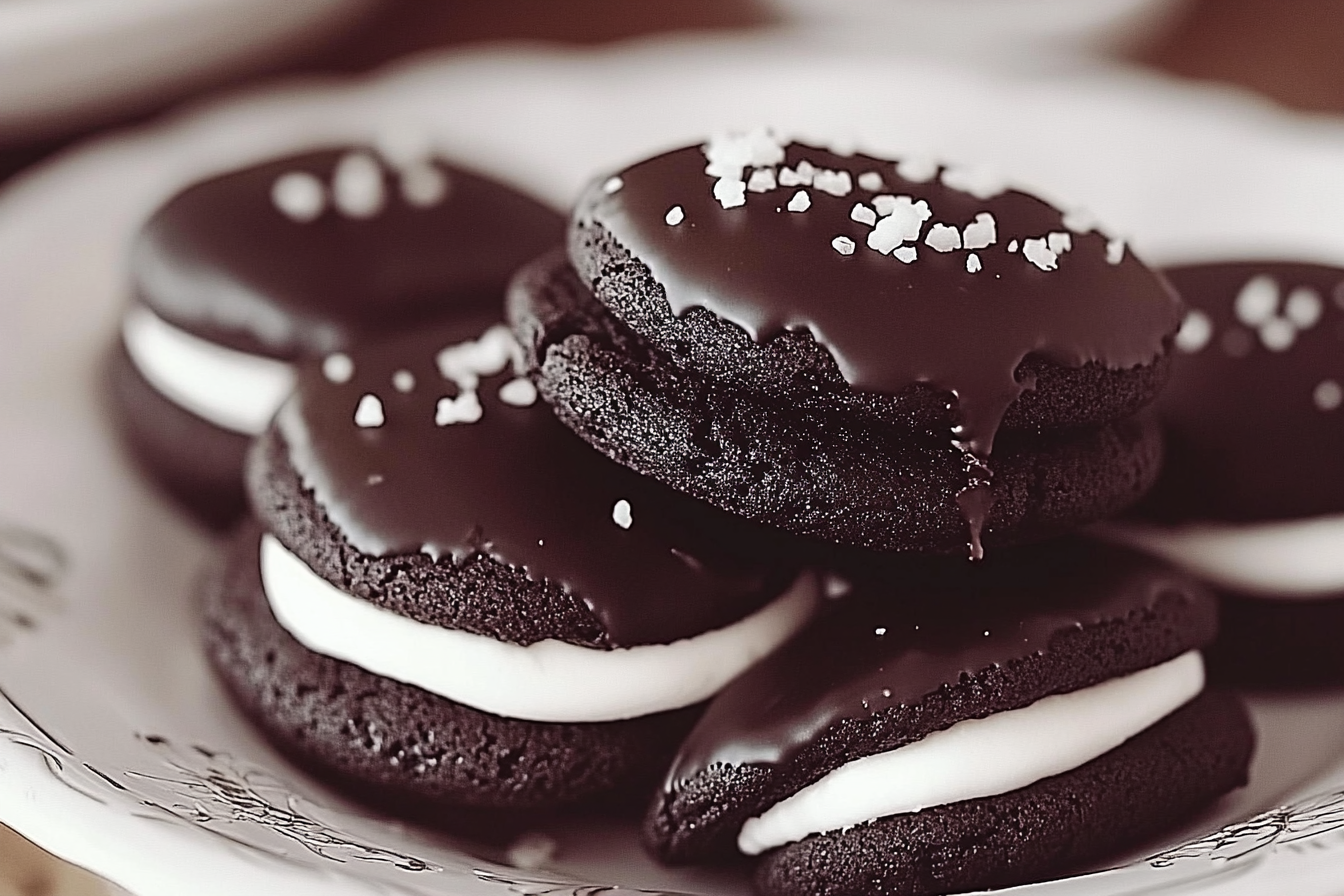
Hostess Cupcake Cookies offer the best of both worlds: the rich flavor of chocolate cupcakes in a soft, handheld cookie. These cookies are filled with a creamy center and topped with chocolate and the classic squiggle design, creating a treat that’s both delicious and fun. Unlike traditional cupcakes, these cookies are easy to make, share, and transport, making them a convenient option for gatherings and potlucks. Their unique design also adds a playful touch, making them a hit with kids and adults alike.
Key Ingredients for Hostess Cupcake Cookies
To create these delectable cookies, gather the following ingredients:
- Butter: Adds richness and helps create a soft, chewy texture.
- Granulated Sugar and Brown Sugar: Both sugars add sweetness, while brown sugar helps keep the cookies soft and moist.
- Egg: Binds the ingredients together and adds richness.
- Vanilla Extract: Enhances the overall flavor of the cookie.
- Cocoa Powder: For that deep, chocolatey taste reminiscent of a Hostess cupcake.
- Flour: Forms the base of the cookie dough.
- Cream Filling: A simple mixture of marshmallow fluff and butter for that signature creamy center.
- Chocolate Coating: Melted chocolate for coating the tops of the cookies.
- White Icing: Used to recreate the classic Hostess swirl on top of each cookie.
Hostess Cupcake Cookies Recipe
Preparation Time: 20 minutes
Cook Time: 10-12 minutes
Chill Time: 30 minutes
Servings: About 24 cookies
Ingredients
For the Cookies
- 1 cup unsalted butter, softened
- ½ cup granulated sugar
- ½ cup brown sugar
- 1 large egg
- 1 teaspoon vanilla extract
- 1 ¾ cups all-purpose flour
- ½ cup unsweetened cocoa powder
- ½ teaspoon baking soda
- ¼ teaspoon salt
For the Cream Filling
- ½ cup marshmallow fluff
- ¼ cup unsalted butter, softened
- ½ cup powdered sugar
For the Topping
- 1 cup semi-sweet chocolate chips (for coating)
- ¼ cup white icing (for the swirl)
Instructions
-
Make the Cookie Dough: In a large mixing bowl, cream together the butter, granulated sugar, and brown sugar until light and fluffy. Beat in the egg and vanilla extract until smooth. In a separate bowl, whisk together the flour, cocoa powder, baking soda, and salt. Gradually add the dry ingredients to the wet mixture, mixing until a dough forms.
-
Chill the Dough: Cover the dough and chill in the refrigerator for at least 30 minutes to help the cookies hold their shape while baking.
-
Bake the Cookies: Preheat the oven to 350°F (175°C) and line a baking sheet with parchment paper. Scoop 1-tablespoon-sized balls of dough and place them onto the baking sheet, spacing them about 2 inches apart. Bake for 10-12 minutes, or until the edges are set. Let the cookies cool completely on a wire rack.
-
Prepare the Cream Filling: In a small bowl, beat together the marshmallow fluff, softened butter, and powdered sugar until smooth and creamy. Once the cookies are completely cool, use a small piping bag to add a dollop of filling to the underside of half of the cookies. Top each filled cookie with another cookie to make a sandwich.
-
Add the Chocolate Coating: Melt the chocolate chips in a microwave-safe bowl in 20-second intervals, stirring until smooth. Dip the top of each cookie sandwich into the melted chocolate, allowing any excess to drip off. Place the cookies back on the parchment paper.
-
Add the Classic Squiggle: Once the chocolate coating has set, use a small piping bag filled with white icing to pipe the signature squiggle design on top of each cookie.
-
Serve and Enjoy: These cookies are best enjoyed fresh but can be stored in an airtight container for up to a week.
Customizing Your Hostess Cupcake Cookies
-
Try Different Fillings: Add a hint of vanilla or almond extract to the cream filling for extra flavor.
-
Use Dark Chocolate: Substitute semi-sweet chocolate chips with dark chocolate for a richer taste.
-
Add a Little Coffee: For a mocha twist, add 1-2 teaspoons of instant coffee to the cookie dough.
-
Make It Vegan: Use plant-based butter, marshmallow fluff, and a vegan egg substitute to make these cookies vegan-friendly.
Tips for Perfect Hostess Cupcake Cookies
-
Chill the Dough: Chilling the dough ensures that the cookies don’t spread too much while baking, giving them a nice shape.
-
Use a Small Piping Bag for the Swirl: To get that iconic squiggle, use a piping bag with a fine tip for precision.
-
Allow Time for Cooling: Make sure the cookies are completely cool before adding the cream filling and chocolate coating to prevent melting.
Frequently Asked Questions
Can I freeze Hostess Cupcake Cookies?
Yes! These cookies freeze well. Wrap each filled and coated cookie individually in plastic wrap, then place them in a freezer-safe container. You can freeze them for up to three months. Thaw in the refrigerator before serving.
Where can I find more unique cookie recipes?
For even more fun cookie ideas, check out Sally’s Baking Addiction’s cookie recipes for everything from classic chocolate chip to funfetti and other creative options.
How long do these cookies last?
Stored in an airtight container, Hostess Cupcake Cookies will stay fresh for up to a week at room temperature or two weeks in the refrigerator.
Wrapping Up
Hostess Cupcake Cookies offer a fun, delicious twist on the classic cupcake we all know and love. From the creamy filling to the chocolate coating and iconic swirl, each bite is a delightful taste of nostalgia. This easy recipe is perfect for family gatherings, holiday cookie trays, or anytime you want to surprise and delight with a unique, homemade treat. Try making them for your next celebration, and watch them disappear as quickly as they’re served!